While working on a new project I decided to use Entity Framework core as the project had a very simple setup and didn’t needed to complex Database settings or queries. A perfect use case to try out EF core.
Implementation was just a breeze while making use of the Repository pattern and the Unit Of Work pattern. Although the application hasn’t have a load of business logic. still I wanted to add Unit tests to validate the implemented logic.
In previous projects we used Moq to create mocks to support the NUnit test framework. For this project I decided to have a look at the Fake It Easy framework. The website promises:
Easier semantics: all fake objects are just that — fakes. Usage determines whether they’re mocks or stubs.
Context-aware fluent interface guides the developer
Easy to use and compatible with both C# and VB.Net.
And I must say, I had to dive in the documentation a few times but for the rest, it was quite simple to set up the mocks and implement the Unit tests.
Mocking DBSet
With the experience of previous projects I knew that mocking a DBSet needed some extra setup. As long as you don’t have to mock queries on the DBSet you’re fine with the default implementation but not if you want to test async queries asFirstOrDefaultAsync(), SingleOrDefaultAsync(). Those are only supported when running against an EF query. For EF 6 there is a very well worked out example (Testing with a mocking framework) on Microsoft Docs.
My first attempt was to use the demo code available for EF core to create the mock and try out if it would work for EF core. But instead of implementing Moq, I’ve used Fake It Easy. First you have to create a TestDbAsyncQueryProvider. I’ve copied the code from the demo on the docs page and noticed the IDbAsyncQueryProvider doesn’t exist any more. After some searching I found that it was renamed to IAsyncQueryProvider. I had to update a few implementations but got it building. The full implementation of the class:
But you also have to make some changes to setup of your mock of the DBSet:
If you now run your tests you will see they run successfully. If you are getting an error like below, make sure your set the mock of DBSet to implement IAsyncEnumerable<TEntity>
The source IQueryable doesn't implement IAsyncEnumerable{0}. Only sources that implement IAsyncEnumerable can be used for Entity Framework asynchronous operations.
Generic solution
Off course you don’t want to repeat all this setup every time you have to write tests for a repository. The solution is to create a helper class where you can define the Entity (and the context if you like) like I did in the class below:
Create Nuget package to reuse in other projects
As we are going to use EF Core in future projects, it would be a timesaver to add the generic implementation in a nuget package to reuse in the Unit tests. As I was looking into creating a package to publish on Nuget I found already a generic solution created by Roman Titov called MockQueryable that was published on Nuget.
The tooling in Visual Studio is great, you can easily deploy from Visual Studio to file, servers, Azure, Docker, … Deploying to Azure is as simple as downloading a publishing profile from the Azure portal and import it into Visual Studio.
There are more the enough resources on the web that give you excellent guidance on how this actually works and is out of scope of this blog post.
For one of the projects we are working on, we’ve created a middle tier for an existing REST service. Due to the lack of logging and being hosted on unreliable hardware we’ve decided to create our own REST service and host it on Azure. This will give us a 99% uptime and increased logging experience we’re we and the customer can benefit from. During the development fase we wanted automatic tests to check if our new middle tier is returning the same results as the original REST service.
Part of this test is the automatic deployment to Azure. The project itself is built on every check-in to our source control on our internal TeamCity build servers. If the build is successful we wanted to automatically deploy it to our Azure account. When the service will be used in production we want to deploy to a staging environment first and then promote it to the production environment, both hosted on Azure.
Existing resources
I was convinced it was an easy peasy task to deploy from Teamcity, we already use webdeploy to deploy our projects to internal IIS servers, changing that to Azure should be a walk in the park. As you can imagine, I wouldn’t take the time to write a blog post about is if it was just a 1, 2, 3 step process.
After some trail and error (a lot of error, most of them with general error messages…) and searching in log files it actually is not to hard to set up.
Step by step
Getting publishing credentials
First step would be to log in to the Azure portal to download the publishing profile. We are going to need the data that’s in that profile.
(Apparently it is not so clear to change your language in the Azure portal, the screenshot is from the Portal in Dutch, but the English version should look similar).
You can open the downloaded profile with any text editor as it is just XML. In the screenshot below you’ll find an example (I had to obfuscate some data)
The data you’ll need in the next steps (with off course the correct details):
publishUrl: YOUR_PROJECT.scm.azure-mobile.net:443
msdeploySite: YOUR_PROJECT_WEBSITE
userName: $USERNAME
userPWD: A_VERY_LONG_PASSWORD
Set up TeamCity
To set up a new project I refer to the TeamCity manual, we’ll focus on the actually steps to get the website deployed.
We first set up 2 simple build steps, one to install the Nuget packages and one to build our solution on Release configuration.
Simply add these steps and select your projects .sln file. We’ve installed Visual Studio 2017 SDK on our build agents but this should also be working on the 2013-2015 SDK.
Because we have a solution with multiple projects, we add an extra build step to just deploy the Web API (REST) service without interference from the other projects in this solution.
Add a new build step and choose for MSBUILD. Select the .csproj file from the correct project. The key to set up the webdeploy is to add the correct parameters to MSBUILD. In the command line parameters add the following parameters:
You’ll see the parameters hold the data we retrieved from the publishing profile. Just one note, I’ve put every parameter on a new line to be better readable. When adding these parameters be sure to avoid line break and extra spaces! I’ve spend more then one occasion bug hunting for a lost space or line break!
Be sure to enter the URL found in the publishing profile at the MsDeployServiceUrl parameter. It had got me confused because webdeploy to IIS uses a full URL like “https://YOUR_SERVER:8172/msdeploy.axd”. So lose the https and the axd reference and copy the correct value from the publishing profile.
You can now run your build on TeamCity and if everything goes well, your website or project should be automatically be deployed to Azure. You can add triggers to do this on each check-in or at a certain time daily.
Every developer can see the credentials
Depending off course on the user settings in TeamCity the credentials you have added in the parameters of the MSBUILD step are readable by every developer. This is off course especially for production environments not safe.
To avoid this security breach we can make use of Parameters in the Team City build server. Open up your build configuration and go to the tab Parameters and click the add new parameter button.
Add a new “configuration Parameter” with name “deployUser” and value “$USERNAME”.
To avoid that this parameter is visible, click the edit button and select in the popup for type “Password” and by display for “Hidden”. You can add a label and description but that’s not obligated.
By setting the type to password you avoid the parameter to be displayed in log files and setting screens. Click save twice and add an new parameter for the password with the name “deployPassword” and the correct value.
Now go back to our MSBUILD build step in TeamCity and alter the Command line parameters.
Alter the username to %deployUser% and the password to %deployPassword%. On build time TeamCity will insert the correct values. Colleague developers will only see the %% parameters in TeamCity.
Conclusion
It is actually not to hard to set up in TeamCity. The only problem is that the resources are not that clear when first looking for information. Little differences with using WebDeploy to IIS servers makes it error prone while setting up.
Once set up you can use the same solution for your staging, acceptance, test, production, … environments, just change the parameters.
It’s a fast moving world for software developers. New frameworks, functions, possibilities, are rising up almost every day. Although you can find many resources online in different formats (blogs, videos, live coding, …) it’s always an advantage to attend a conference where you can learn the new stuff and meet up with some of the leaders of the industry.
Until 2014 Microsoft organised an European Teched conference but decided to stop with the Teched at all (also the North America edition) and focus on their BUILD conference. Due to a lack of an European alternative we tried to get tickets for the BUILD conference in San Francisco this year but you have better luck trying to buy U2 tickets for a small venue. Luckily we noticed the DEVIntersections conference in Orlando that takes place only a 3 weeks after the BUILD conference and with an impressing line up of speakers.
Now the last day of the conference is arrived, is it time for a little wrap up. Please note, these are my personal findings not only about the technical items from the conference but also travel, stay, hotel, …
Long way from home
Not really a downside, but it’s reality that the travel from Belgium to Orlando takes a while. It’s not my first visit to the States so I did know what to expect. Due to the terrorist attacks on march 22 in Brussels our flight was diverted to Schiphol what led to some extra travelling. From the moment I’ve parked my car in Berchem till we entered the hotel a 20 hour trip was finished and has taken us from a train ride to Schiphol, an 8 hour flight to Atlanta, a 2 hour flight to Orlando and an 45 min taxi ride to the hotel.
Disney World
The conference takes place in one of the Disney World hotels, the Walt Disney World Swann and Dolphin. And the hotel is huge! You can’t compare with any hotel you find in Belgium (or the parts of Europe where I travelled before) and due to the Disney park, it houses a mix of different conference attendees (and yeah, you can pick the IT dudes out of the crowd ) and families ready for some days of Disney fun.
The room was fairly standard but clean and comfortable. A bit a pity of the view as we’re just above a roof of one of the adjusting buildings of the hotel. But once you step outside the room and start walking around you are directly in vacation atmosphere. You have the 5 different swimming pools, different hot tubs, 7 or 8 different restaurants in the hotel complex, the Disney Broadwalk around an artificial lake, boat trips from one side to the other, …
Fun for the first days, but after a while you have seen it all. Plans to go to downtown Orlando, we didn’t travel that far for just the Disney magic, weren’t realistic by the lack of fast public transportation and the cost for a taxi fair in combination with the time we could spend downtown after a day of conference.
DEVIntersections – the workshops
Next to the conference itself, they also organised 4 days of workshops and hands on labs the days before and after, where we registered for the 2 days pre work shops that are titled: ‘Making the Jump to ES6 and TypeScript’ and ‘Building Single Page Applications with Angular 2’.
I’ve only been looking into Angular (1.4) and Typescript shortly so the workshop was very interesting. Learned a lot about Typescript and how it can construct and organize your codebase on a much better way with a lot of advantages. Certain something to look further into.
After the first day of Typescript introduction, you notice on the second day how it perfects integrates with Angular 2! A lot of new stuff was thrown at us and it will take me some time to digest all that information but it’s a very good base to start building Angular 2 apps in the future.
Both work shops were presented by John Papa (John_Papa) and Dan Wahlin (DanWahlin), both experts in these matters. You could notice they worked together before as they seamlessly took over from each other and were joking around without falling into a comedy show.
Although it was announced as a “hands on” workshop, the “hands on” moments where few and maybe there should have been more time for the attendees for trail and error on their own machines, especially for an all day workshop.
Note to the organisation itself, if you ask attendees to bring there own device, please make sure there are power sockets for those people. More then half of the attendees ran out of battery before lunch and were unable to use their machines for the rest of the workshop. We were so wise to come early the second day and choose one of the few places where there was a power socket in reach.
DEVIntersections – the sessions
The conference content was of a very good level! Most of the speakers are the experts in their field and many Microsoft employees stood on stage. You could notice there were a lot more attendees then the first days during the workshops but still it wasn’t too busy. Not too much queues (except at the men’s rooms during breaks , the ladies still have a huge advantage on these IT events).
The first keynote was by Scott Guthrie (scottgu) and was a general overview about Azure and could be in my opinion a lot wider and a bit more developer focussed instead of the commercial tone. The videos shown were the same as shown on the build conference but that was to be expected.
The second keynote on the first day was from Scott Hanselman (shanselman). You can’t always predict what he’s going to talk about, but you can at least be sure it’s a good mix of technical innovations an a lot of humour. I’ve also went to the other session that was presented by him and on both occasions it was top notch entertainment with a lot of new exiting things that are coming our way. He’s not afraid to point out where there are still some improvement opportunities for Microsoft but is straight on about where the the different teams of Microsoft are focussing on at the moment. He managed to install the latest development version of Visual Studio on one of the attendees his laptop, who had surprisingly no Visual Studio instance installed??? While trying to connect the laptop, bringing in the technical fellows, he managed to bring that without boring for 1 second.
The last day of the conference was lacking good interesting sessions for me what gave the feeling all was said during the first days. Except some 3rd party frameworks like NodeJS and ReactJS there were not many full developer sessions that were based on Microsoft technology except then the keynote about Sharepoint. (what gave me the time to write this post ).
But overall good content, excellent speakers and we picked up a lot of new things. If I find the time, I make a follow up post.
DEVIntersections – social
Maybe I’m a bit spoiled by the Tech Ed conferences and the Xamarin Evolve conference I attended in November 2014 but I missed the social parts that makes a good conference a wow conference.
For one, the sponsors expo was limited. With 10 company stands there was not so much to see or to speak about. The boots were small as the expo took place in the hallway between the different rooms.
Ok, a bit childish but there were not so many goodies to find. On previous occasions I’ve been able to make my son very happy with a bunch of goodies that I’ve taken with me from the exhibitors expo.
There were 2 evening gatherings (if I didn’t miss one, but saw no other in the schedule or announcements). On Tuesday the opening of the partner expo with drinks and snacks. It’s a pity they just gave one coupon for a drink and not so many snacks. Because there was only one drink included, the reception was over quite early as everybody went to somewhere else.
I didn’t went to the after dark sessions on Wednesday but the general feedback from the people I spoke, wasn’t that overwhelming and many bailed out during the session.
As other conferences were held in the same hotel complex, you could see the difference. We’ve saw at least 3 beach parties with open bar, music, a lot of people and seemed to be a good atmosphere. It would have been great if DEVIntersections had organised one of those.
DEVIntersections – General
Overall it is a good conference with some grow opportunities on their way. Off course Rome wasn’t build in one day, and DEVIntersections is a very young conference. I’ve enjoyed my stay in Florida and learned a lot of new interesting stuff. I’m a big fan on how Microsoft is proceeding and it will be challenging times for aswell Microsoft as the developers using their stack to create excellent apps on different platfoms, mobile, web, desktop, cloud, IoT, …
When you have to make screenshots on a daily bases, to add in a manual, to report issues, to share views with colleagues, you’’ll find that the default screenshot capabilities of Windows aren’t sufficient enough.
Therefor I’m already a long time user of the open source Greenshot product. It gives you the possibility to capture a region, edit the image and then copy/paste or use one of the existing plugins to upload the picture to JIRA, Office, …
For a project I’ve wanted to create a new plugin so we can add screenshot to our work log without have to take the screenshot, save the image somewhere and then go to the web application and upload the file. As there is no (or I didn’t found it) documentation how to create your own plugin, I started to digging in the existing code base.
In this post you’ll find the steps you’ll have to do to create your own plugin.
One remark, I’m a very happy user of Greenshot, and must say, even without documentation, the code base is clearly well build up and professional!
After you downloaded the source code, go to the greenshot folder and open up Greenshot.sln. I’m using Visual Studio 2013 that’s is going to upgrade the existing projects. If you want to contribute, be sure to read the instructions on the bitbucket page!
In Visual Studio the project would look like the screenshot below:
Add a new project
Right click on the Greenshot solution and choose to add a new project.
Choose to create a class library and give it a name. (in my case GreenshotDemoPlugin). Be sure to select the .NET 2.0 framework as the rest of the project is build in 2.0.
After the project is added to your solution open up the properties of the project (right click on project and then select properties). In the Build Events tab edit the post build event command line and paste the next statements in:
This will make sure after you build the project, it is automatically copied and placed into the greenshot plugin folder of your development environment as a gsp package file (I suppose gsp stands for GreenShotPlugin). The last statement is only useful if you add multiple languages to your plugin. Hit save and close the properties window.
Last but not least, add a reference to the GreenshotPlugin by right clicking the references node in your plugin project and browse to the correct project and click add.
Run Rebuild on the solution and you’ll see in the output window that for every plugin a new folder is created under ../Greenshot/bin/debug/plugins. You probably will see the GreenshotDemo Plugin folder there too.
Base classes
Now that the project is set up, we can start to add the necessary classes for our plugin.
Configuration class
We’ll start with the configuration class that will help us with storing the necessary settings in the Greenshot config file so we can retrieve them later in the process.
Right click your plugin project and choose to add a new class. Call it DemoConfiguration.cs. Make the class public accessible and overwrite from the IniSection class from the Greenshot.IniFile namespace.
Add the properties you’ll will need to upload your images to your server or application. I’ve added the following properties: Url, Timeout, UploadFormat, UploadJpegQuality, UploadReduceColors (shameless copy from another existing plugin).
For every setting add an IniProperty annotation with the name of the setting, the description and a default value. At last, add the IniSection annotation on top of your configuration class and set the name and description. The full class is below:
Connector class
The connector class will be used to manage the connection to your webservice or REST service and how that the pictures need to be uploaded.
Add a new class to your plugin project and name it DemoConnector.cs. Make your class public and inherit from IDisposable. To be able to write to the log file you’ll have to add a reference to Log4Net. As different versions of Log4Net can cause some problems you best reference the Log4Net DLL that is included in the Greenshot Lib folder (Greenshot/Lib)
As we are inheriting from IDisposible whe have to implement the Dispose method. Next to that, we add a constructor and an AddAttachment method. The last method is where you’ll define what needs to be done to have the image uploaded to your system. For my test system I have to send a ticketnr (for now I added a value for test, we’ll update it later), the name of the file and the image itself as base64 string.
In the constructor we copy the URL of the config settings in a local Url parameter to use in our AddAttachment method.
Plugin class
Next we’ll create a plugin class, the base of our new custom plugin. Add a new class in your plugin project and name it DemoPlugin.cs. Make the class public accessible and inherit from the IGreenshotPlugin interface from the Greenshot.Plugin namespace.
The IGreenshotPlugin interface has 6 methods defined we’ll need to implement in our class.
Next to the 6 methods, I’ve added a few private properties: IGreenshotHost, our new created connector (DemoConnector), PluginAttributes and our Configuration class (DemoConfiguration)
The first method to implement is the Initialize method. There we receive the host from greenshot and the plugin attributes that we assign to our local properties of our class. Also we read the configuration settings from our configuration class and return true.
The configure method we’ll leave empty, as we do with the Destinations method. (we’ll come back to this after we created the Destination class). in the Processors method we’ll yield a break statement.
We’ll add a public getter for our connector too, that we’ll need to access from the Destination class we’re going to create next.
The Shutdown and Dispose methods are fairly self explaining as you can see in the class below:
Destination class
The last class we have to add is out Destination class where we bind the plugin and the connector together.
Add a new class and name it DemoDestination, make the class plublic accesible and inherit from the AbstractDestination class from the GreenshotPlugin.Core namespace.
From the abstract class we’ll obligated to implement the ExportCapture method and the Designation and Description parameters.
In the Designation and Description properties I fill out some random text (ideal you will be using the resource file to serve multiple languages but that can be added later on).
The ExportCapture method is the main method where we’ll define what will happen if we make a screenshot with Greenshot. We gather the necessary information about the screenshot (name and settings) and call our connector to upload the screenshot as shown below.
We’ll need to add a reference to the System.Windows.Forms namespace because we’ll make use of a buildin form of Greenshot that has a link to the forms namespace. (also for the messagebox we want to show).
Few last smaller adjustments
We’re almost there. We now created all necessary class for a (very) basic plugin. With some small adjustments we can and run our plugin for the first time.
Open up the DemoPlugin class again. In the Destinations method we now can add our new created DemoDestination. Alter the method as shown here:
Next (and this took me a while to figure out), your plugin will not be recognized by Greenshot if you don’t put a Plugin attribute in your Assemblyinfo.cs class. So open up this file and add line 17. ([assembly: Plugin(“GreenshotDemoPlugin.DemoPlugin”, true)])
Run and test
If you implemented everything properly then you can now just press the run button (mark the Greenshot project as startup project if that’s not the case yet).
You’ll see the Greenshot icon appear in your windows tray icons, hit the print screen button and mark an area on your screen. If you release your left mouse button a context menu should appear. In all the choices you have their (depending on what plugins are installed) you should have an “Upload to Demo system) item.
Select the item and your screenshot should be uploaded to your demo system.
If you have any exceptions or problems you can always look into the Greentshot.log file that default is created in the folder “C:\Users\YOURUSERNAME\AppData\Local\Greenshot\”.
Your plugin should also be in the list of plugins, right click on the Greenshot icon in your tray and left click and select preferences. On the Plugin tab your plugin should appear (but you can’t make any setting changes).
Off course is this only a rudimental plugin that we’ve created. In a next post we’ll add some screens so the end user can enter some data and can alter some settings from the UI.
This time a not so technical blog post. Due to a very busy schedule the last few months, there wasn’t enough time to take up blogging. Let’s try to get starting again.
First post will be about my first trip to the United States, where I’m attending the Xamarin Evolve conference in Atlanta.
From the beginning of 2014 starting with mobile development was on my wish list. Due to the work load from the start of this year until now I was only able to test around a bit but never had enough time to complete my first app.
We’ve decided to work with Xamarin to create our mobile apps on different operating systems. Not only because I’m specialized in the .NET framework, also the ability to share code between the implementations of the different frameworks is a big plus and time saver!
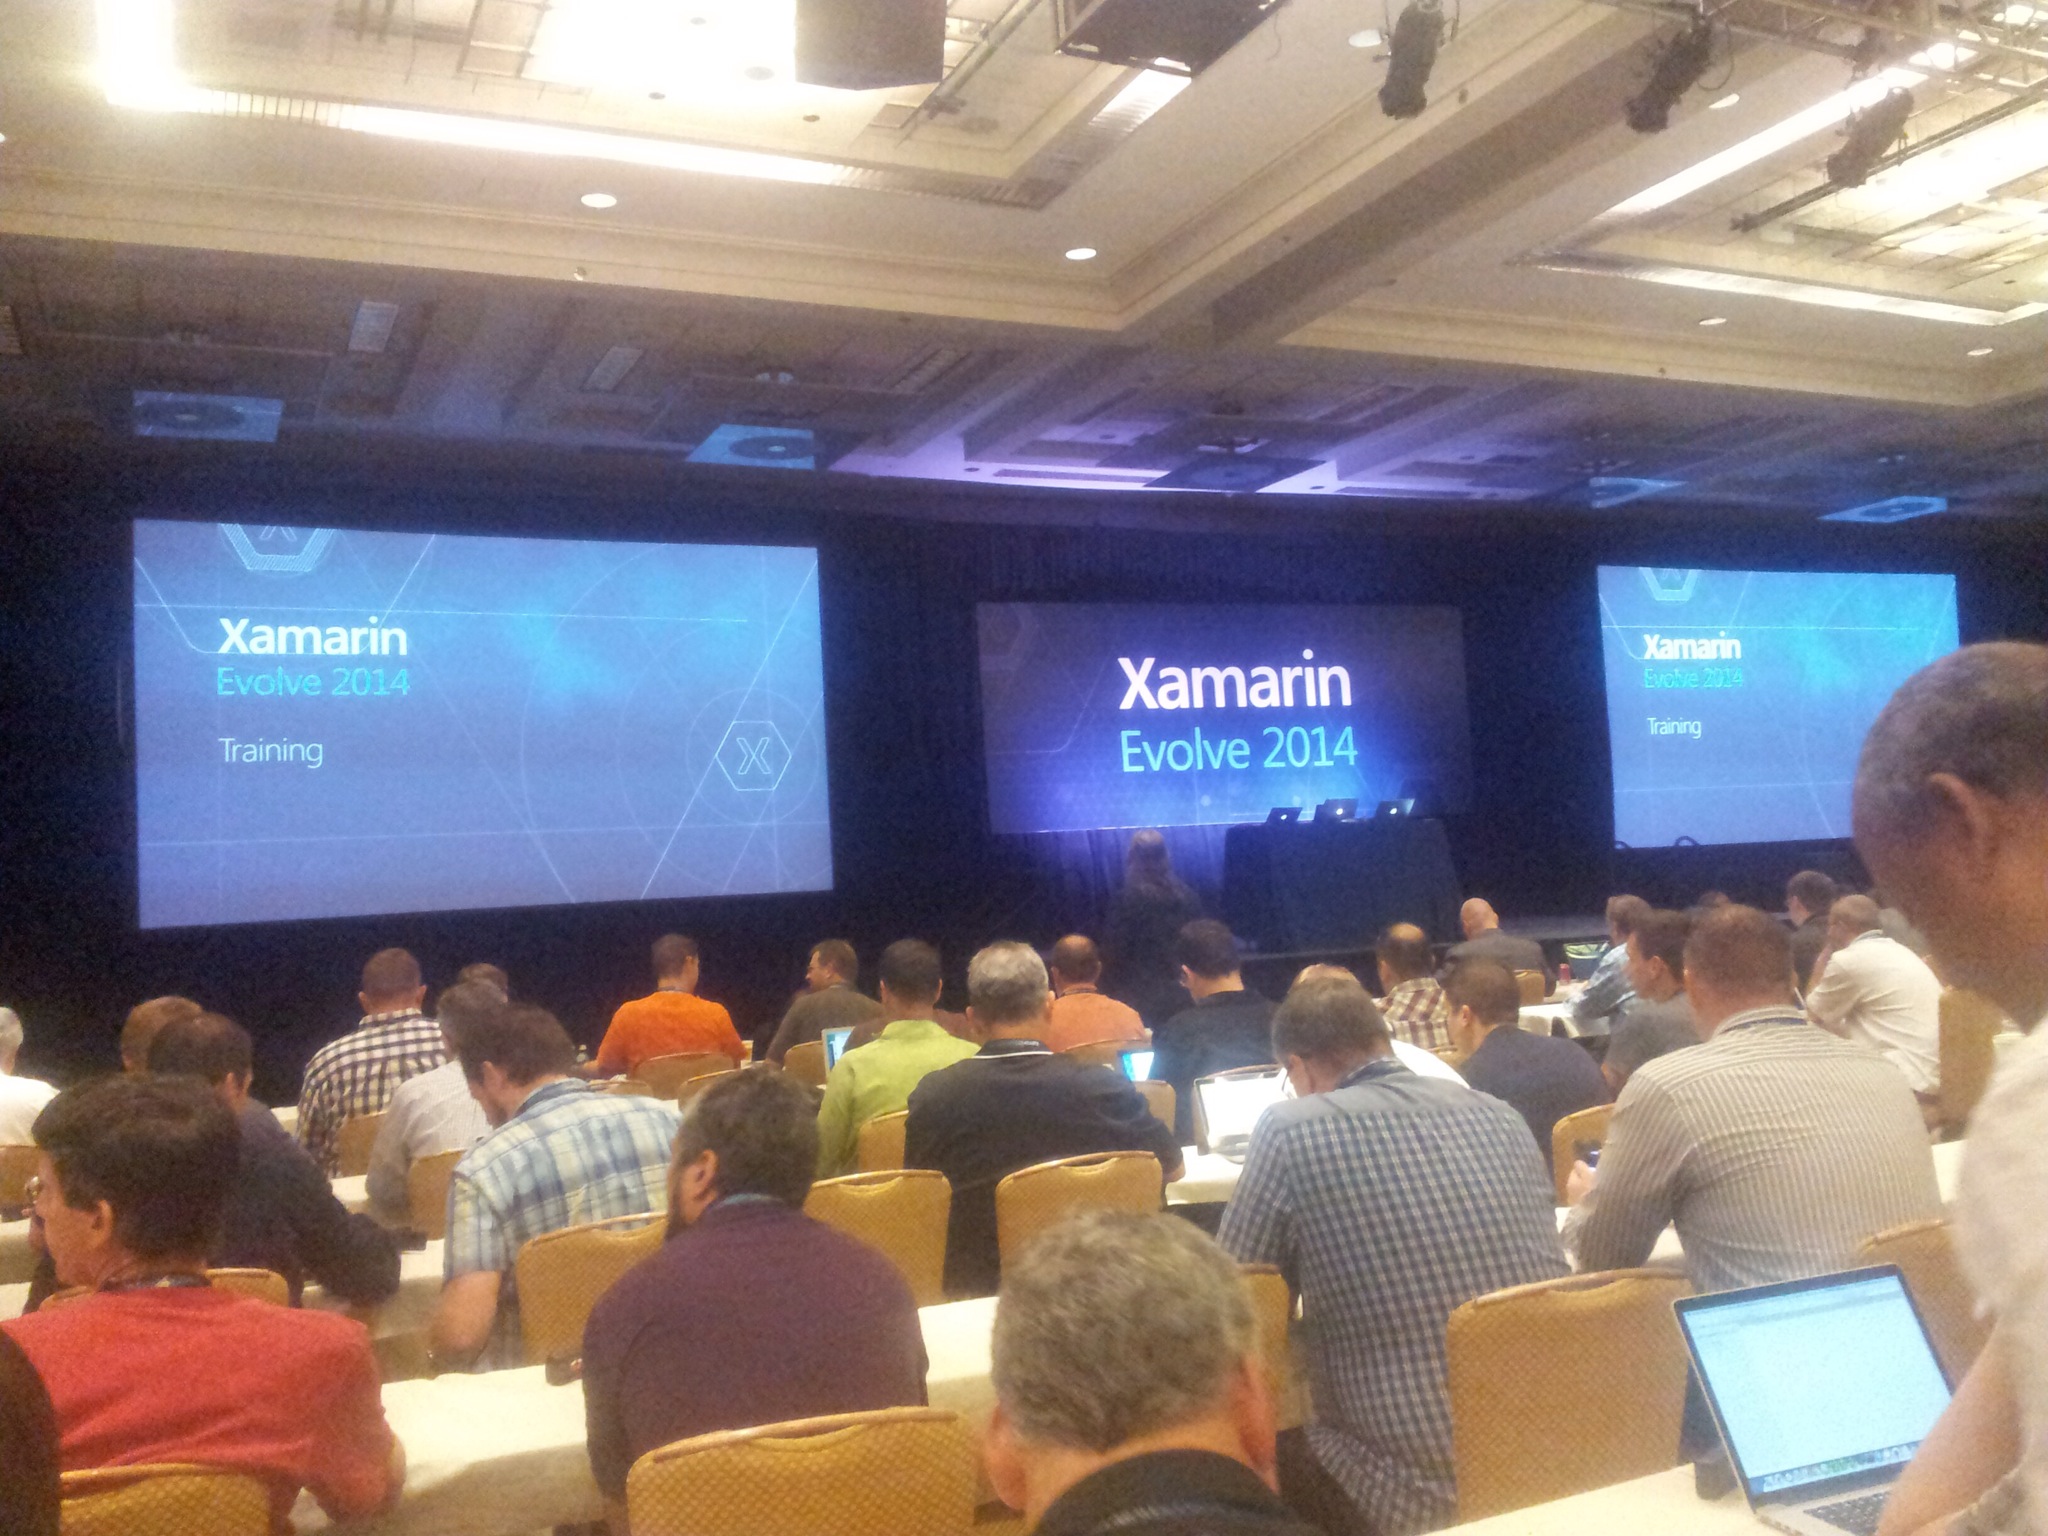
The conference included (if wanted) a two day training course, that I wanted to attend to get to learn the best practices, the way to structure your code and so one.
Training
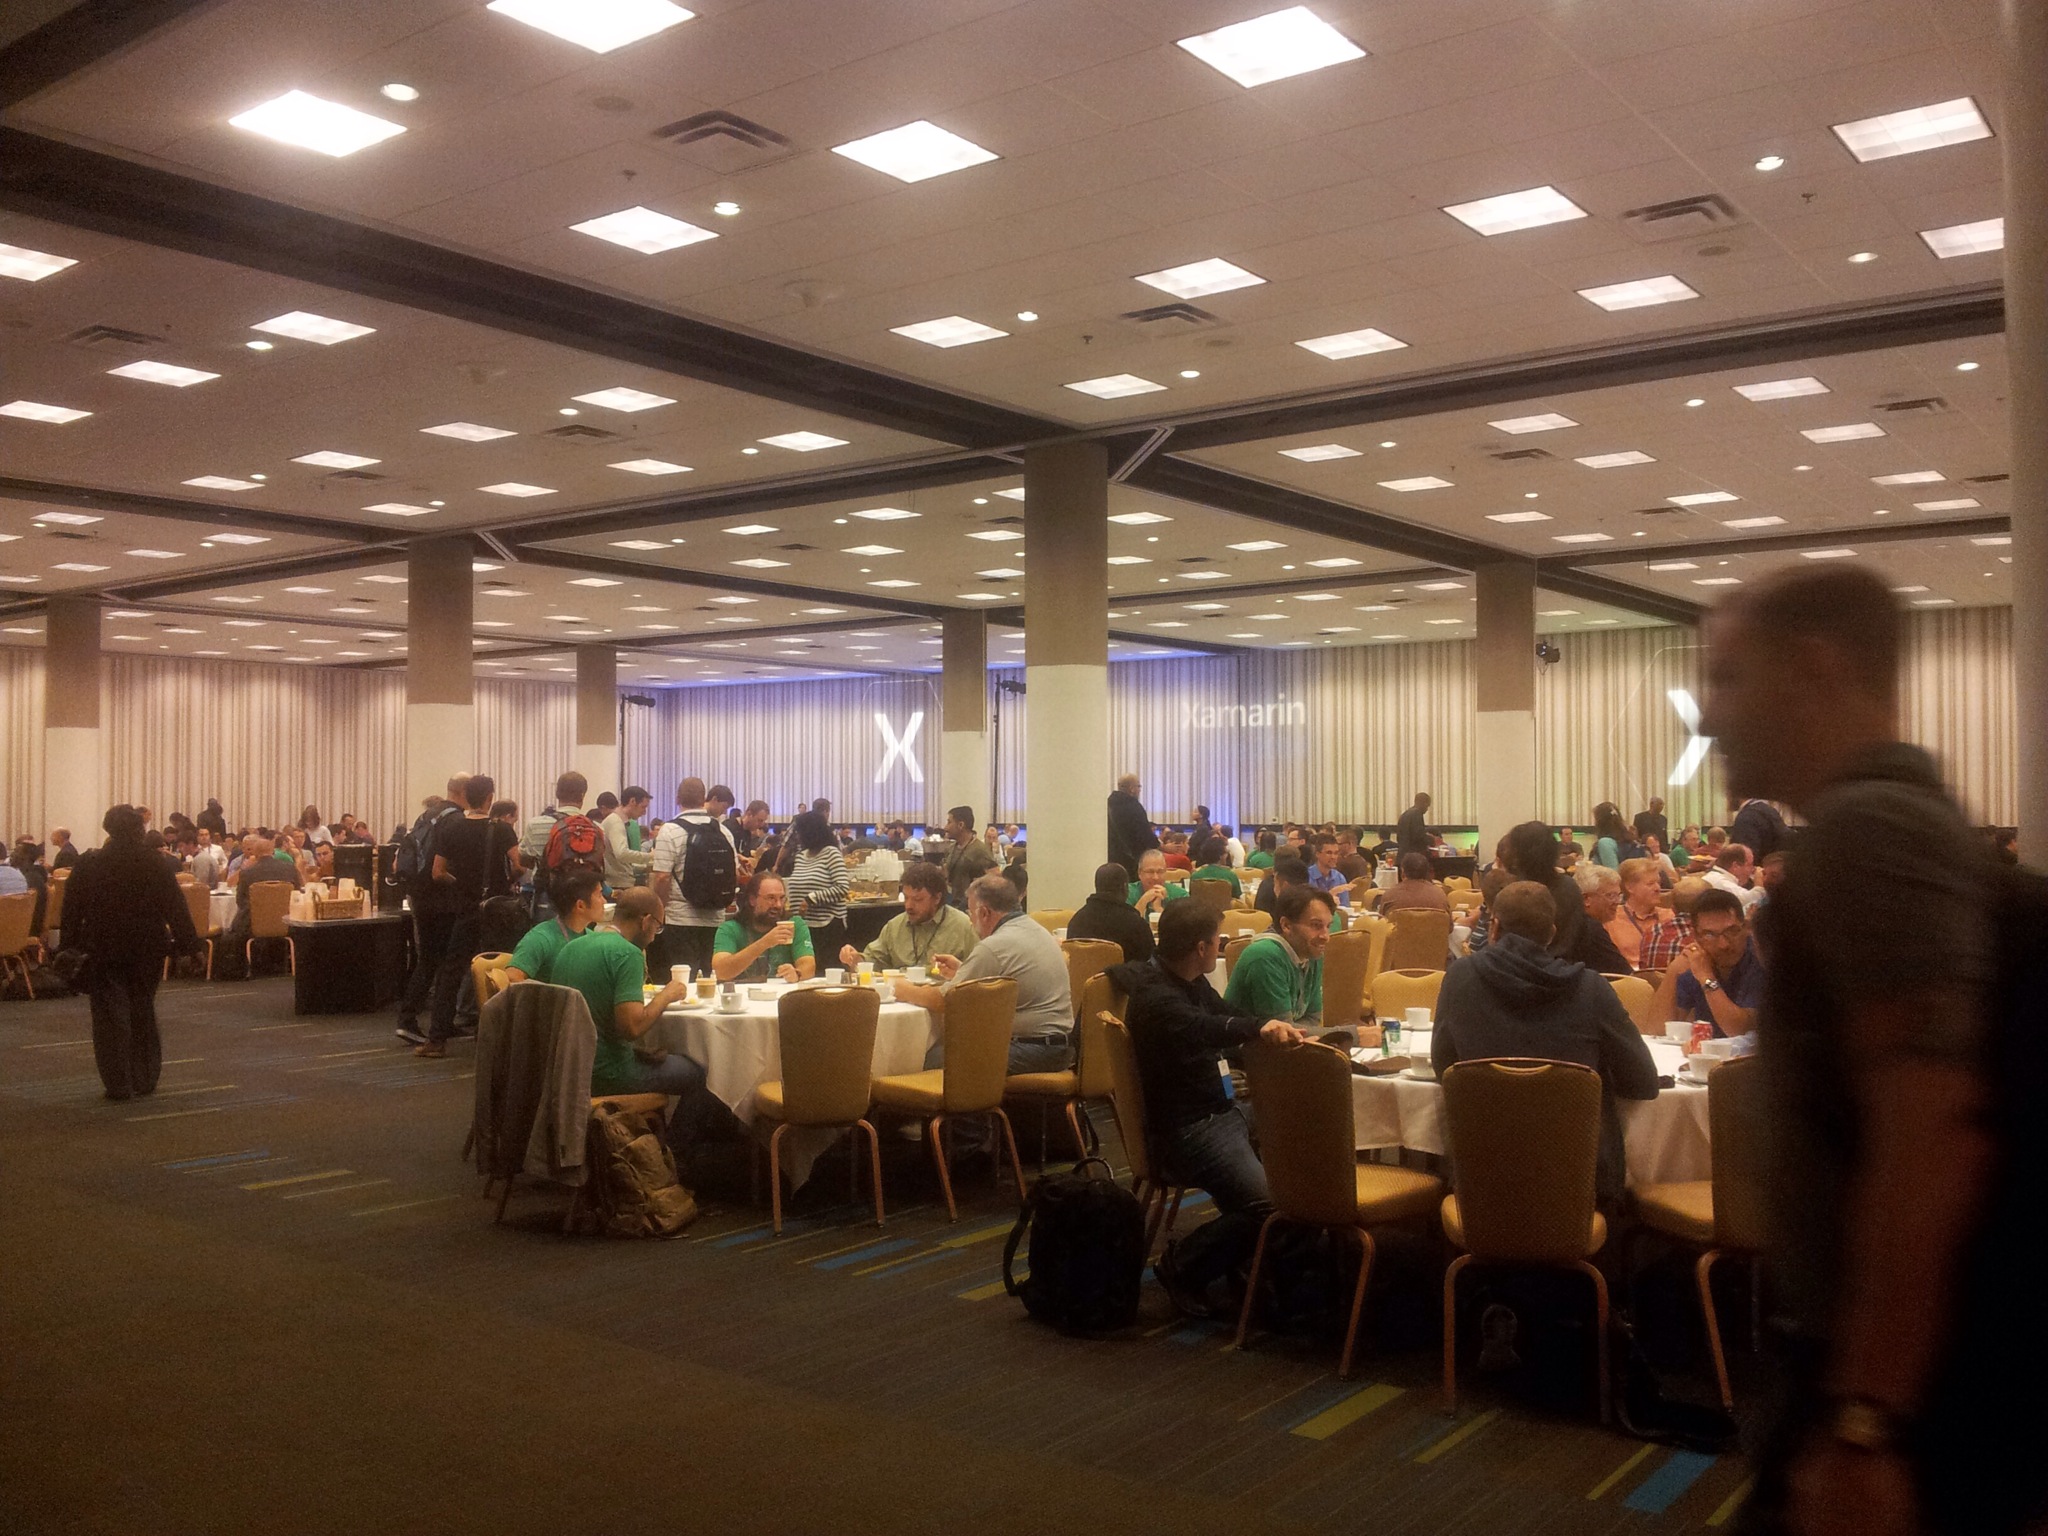
On Monday morning training started with breakfast :). In the big meal hall it become obvious that Xamarin is hot. During the kick off session the numbers came up. 700 people are following training alone, what is more then the total of attendees for Evolve 2013!
Next important fact in the kick off was that Xamarin Forms, although just released 3 moths ago, was the most requested subject for the training. This is reflected in the training schedule where a lot of sessions are based upon the Xamarin Forms implementation.
I signed up for the fundamentals track as I don’t have an very deep knowledge working with Xamarin. First sessions where the basics about mobile development with Xamarin Forms. Although my lack of knowledge, the sessions felt very basic, and on a bit of slow pace. I saw a few interesting items but for the most of the content it was a bit tedious.
In the afternoon, after a workshop, XAML was on the program. With some previous experience in WPF was the session about XAML and the data binding a bit the same story as before noon.
What I have to emphasize is how helpful the Xamarin people where during workshops and general questions! Sadly I learned more from doing the workshops and asking the experts then from the sessions on this first day.
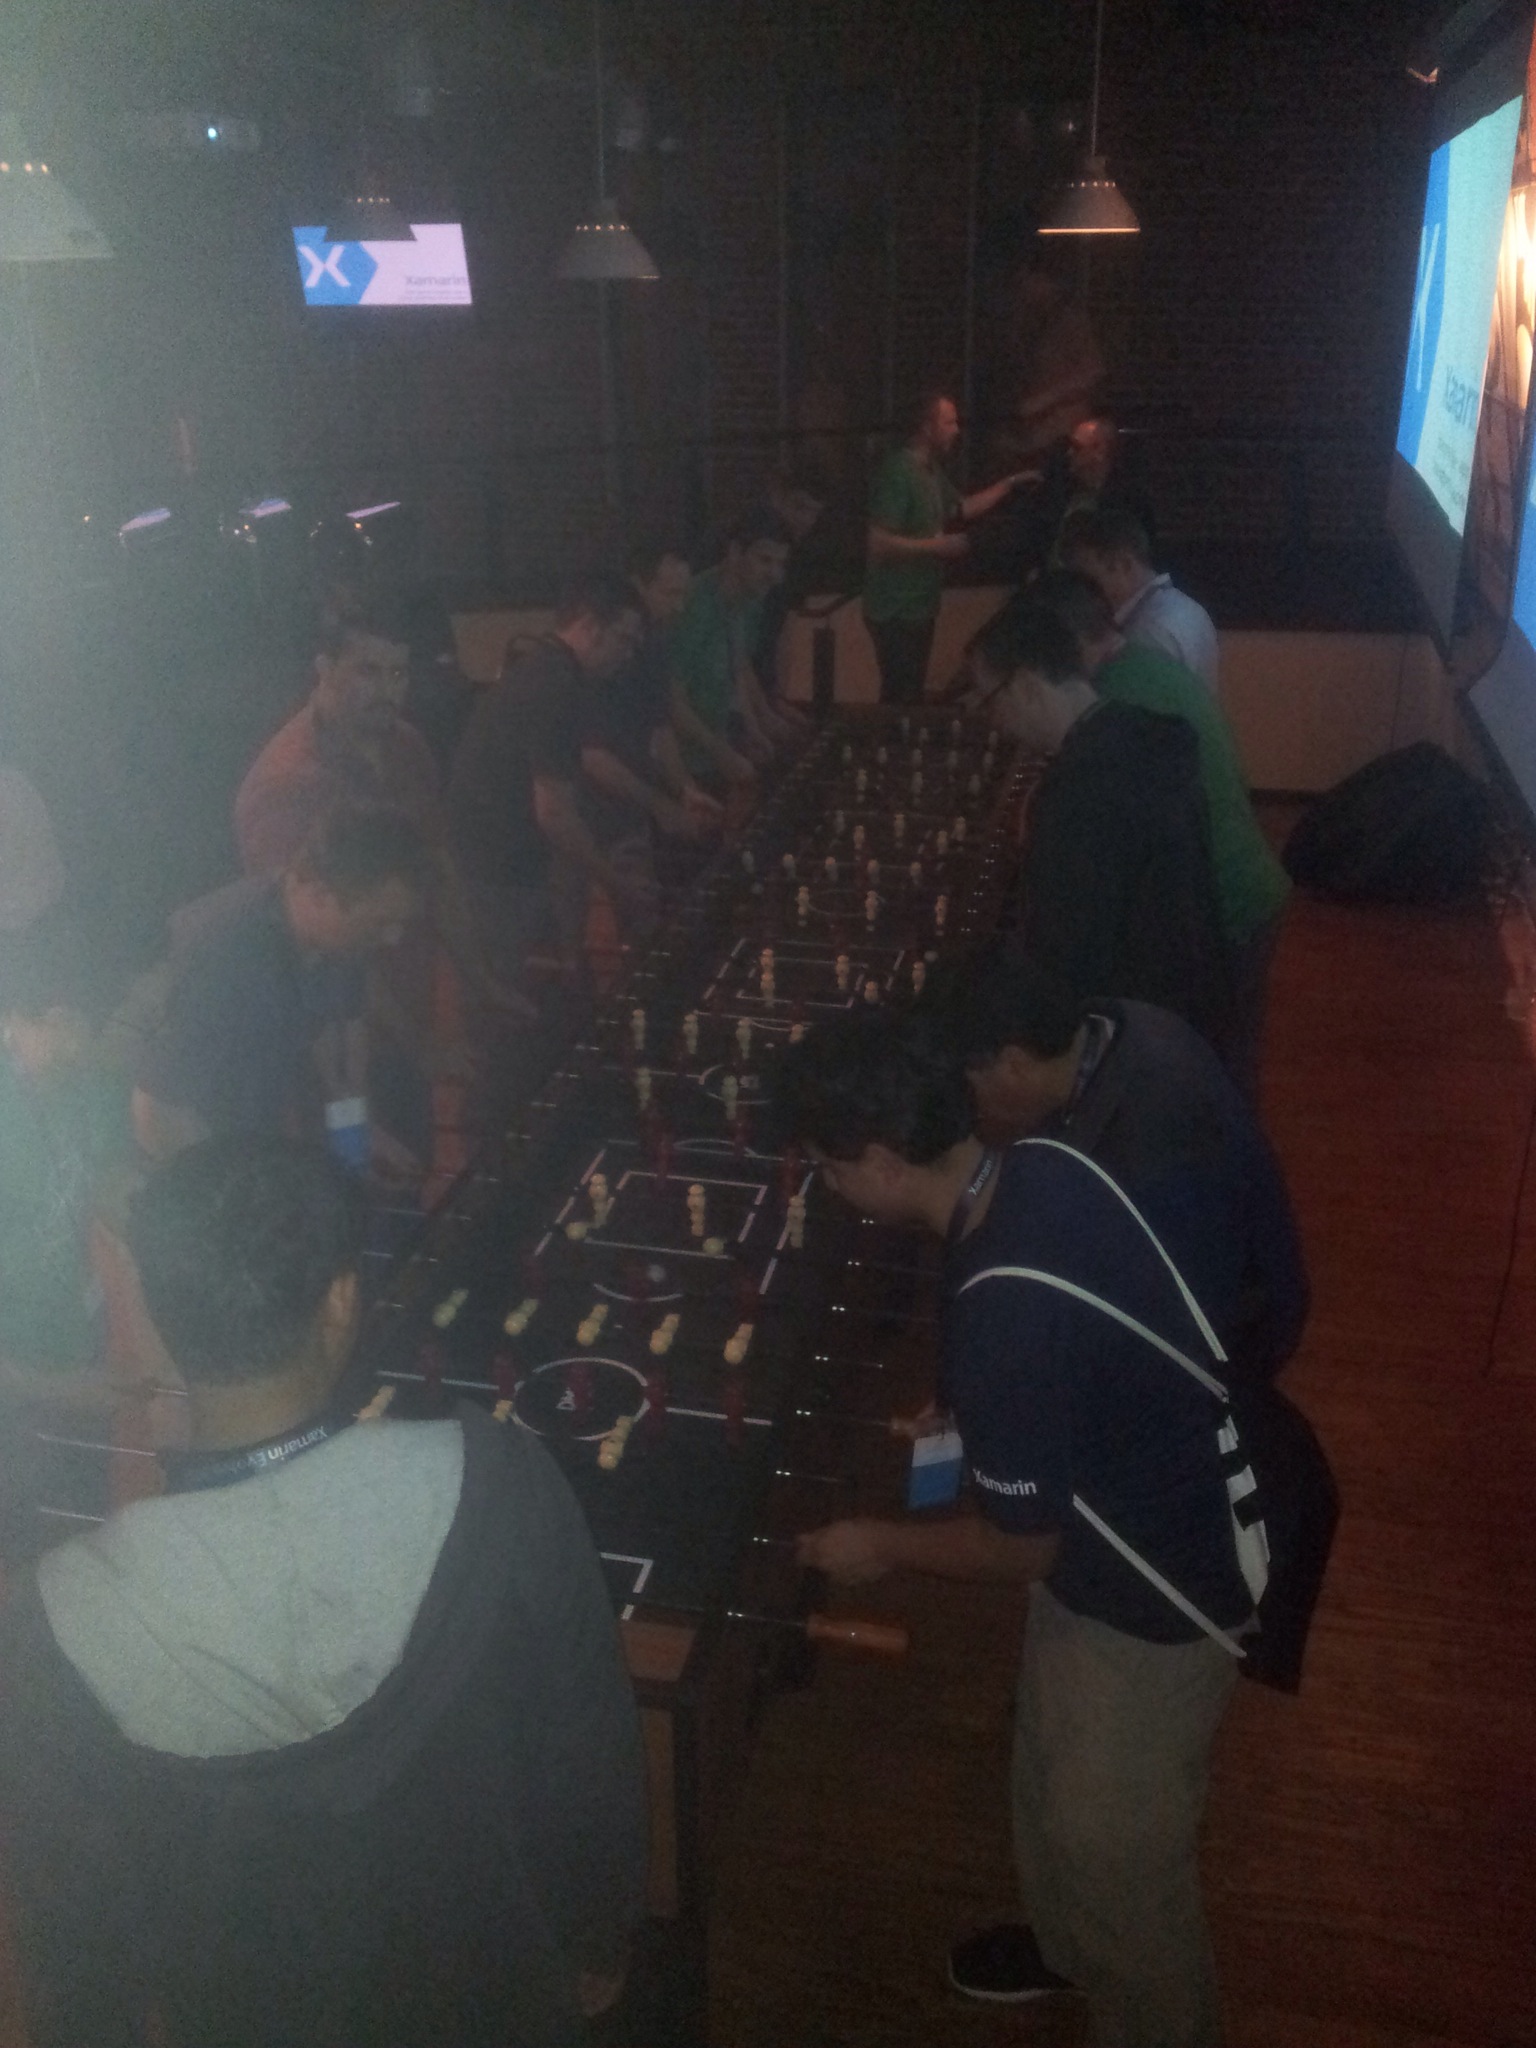
To finish of the day all training attendees were invited for dinner in a close by restaurant Stafs. Even there you sense the open mind of the Xamarin employees and other attendees. A perfect place to mingle and hand out experiences with mobile development between each other. Together with Stella on draft, a perfect ending of the first day of conference.
Day 2
Day 2 started a bit earlier then I was hoping due to the jet lag still being present. Waking up at 4 o’clock in the morning wasn’t what I was hoping for, but yeah.
Where day one was missing some body for me, day two was a lot better. Starting with navigation in Xamarin Forms to SQLite and Mobile Data to Web Services gave me a lot of useful information and best practices that I want to implement directly in the first app I’m planning to build.
And that was just before lunch, in the afternoon sessions went on on a better pace with subjects Extending Forms and publishing your app together with labs and time to play around with experts around you.
The second day was closed by the conference welcome reception that I sadly missed due to the still present jet lag. (Planning to lay down for one hour became a solid sleep until, you can already predict, 4 o’clock the next morning)
For a project we’re currently working on we needed to be able to search on different fields that are shown to the end user. We didn’t want to rely fully on the SQL server Full Text Search capabilities. Luckily I knew the Lucene.NET engine from some previous work with the Umbraco CMS.
We just wanted to receive from our search engine the ID’s of the objects where the search term in was found rather then complete objects. When working with a database it just doesn’t feel right to store all your data on 2 different places (the database and the search index store). We only wanted to add the fields where we would search on to the search index and let Lucene decide the match, afterwards we’ll pull the objects from the database using Entity Framework.
Setting up Lucene.NET
Setting up Lucene.Net is not that difficult and you can find a lot of blog posts on how to use Lucene (like Introducing Lucene.NET on Code Project) and with a Nuget package available it’s easy to add the engine to your project.
I’ve followed a few of those blog posts I could find. Off course these posts give you a starting point and for the simplicity all code is written in one or two classes. After the first implementation I started with some refactoring’s and decided it would be easier for future implementations if I created my own search DLL or package.
At the bottom you’ll find the link to the Github repository where you can browse and download the package.
Documents
If you want to be able to search in Lucene you’ll have to add the parameter to a Lucene document. To simplify the creation of such documents I’ve created an abstract class ADocument where you have to inherit from.
You’ll see that I’ve added the public property “Id” so that every class that will inherit should have that Id. In the setter of the ID you’ll see I add the field to the Lucene.Net Document with the AddParameterToDocument method.
Next to the private AddParameterToDocument method you’ll find two other methods, one with the possibility to store the parameter in the Lucene index and one to just analyze the parameter but not to store it in the Lucene index.
SearchField
You’ll see in the ADocument class that I’ve decorated the “Id” with the “SearchField” attribute. This attribute was created to simplify the search on multiple fields that you’ll see when implementing the BaseSearcher. You can find the implementation of this attribute below.
BaseSearch
Both the writer as the searcher have to have access to the index that is written to the local file system. To avoid multiple implementations (check if the directory exists, load a FSDirectory object, …) I’ve created a BaseSearch class. Not much to see in this class, just some basic settings of the folder where the index is stored.
BaseWriter
before we can search we’ll have to add some items into the search index off course. Following the DRY principle we’ve created a new abstract base class, the “BaseWriter”. In this class we added the methods to add and update new or existing item(s) of the type of ADocument. Next to adding and updating we added the corresponding delete methods. Because we delete everything based on the Id property of the ADocument implementation it’s important its value is always set in the deriving class.
NOTE: the log messages are added to be used with Log4Net.
BaseSearcher
Adding items to the Lucene index wasn’t that hard. When I first started to implement the search methods I wanted to be able to search on a specific property or on all properties available on that object.
To be able to search on all properties you’ll have to user a MultifieldQueryParser instead of the default QueryParser. But with the MultifieldQueryParser you have to enter all the fields where Lucene have to search on. I really didn’t wanted to have to implement the same search code for every type we have to add to the index.
We’ll no choice then to turn to reflection to fetch all the parameters. But the class could have more properties then the one we are searching on. To avoid these extra properties (and the errors because we’ll be searching on properties that are not indexed) I’ve added the SearchField attribute.
So the first thing we’ll do when searching is to fetch all properties from the class and add them in a list. By using the T parameter we can easily reuse the same method for different classes as long they inherit from ADocument.
With this list we can now implement the actual searching. If we search on a specific field we’ll use the default QueryParser and if we are searching on more then one field, the MultifieldQueryParser.
When you look into the code, you’ll see that even when searching on a specific field, there’s still a possibility that the MultiFieldQueryParser is used. I’ve added the option to search on multiple parameters in the Lucene index if they are related to each other.
For example: you have a registration number for each person that always starts with the year of registration, a number (sequence) and a suffix: 2014-0023-aaa. When you add this complete registration number to the index and you search on 2014 (without wildcards) the Lucene engine will return no results. To avoid that the end user have to use wildcards you can store the registration number in three different parts. But when you want to search on the field RegistrationNumber you’ll have to indicate that multiple fields have to be used.
Therefor can the SearchField parameter contain a array of strings that contain the other searchfields that have to be taken into account. (confused, see the TestApp project on github)
ParseQuery
The search term that the end user enters has to be translated to a Lucene.NET Query. There a re build in methods to convert a string to a Query object. Although the method can throw a ParseException if invalid characters are used. Therefor I added a private ParseQuery method to catch those exceptions and to filter out the invalid characters.
SearchResult
Because we only want to return the Ids of the objects we’re searching for we can use a generic SearchResult class to return the results. The amount of hits and the search term are added to the result to be shown in the UI.
Test application
The above classes (except a custom exception) are all the parts we need to start testing our search wrapper. On the Github repository you’ll find a TestApp project in the solution where the classes below are implemented.
Person
The example used is of a Person that will register for a service. For simplicity sake local classes are used as repository instead of a database but you’ll get the point.
We”’ll start with the Person class that is used in some application. All default stuff and an override for the ToString method to print out Person class.
PersonDocument
It are these Person classes we want to add to our search index. To add these we have to create a PersonDocument class that implements from our ADocument abstract class. We”’ll add all properties with private backing fields so we can call the ‘AddParameterToDocument’ methods. Next to adding the property to the index we’ll have to decorate the properties we want to search on. (See the RegistrationString property where we added multiple SearchFields)
At the bottom I added a operator method to cast the person object to a PersonDocument object so I don’t have to repeat the cast in the business logic.
PersonWriter
The PersonWriter class will be not that difficult to implement now our PersonDocument class is defined. We just have to add the add and update methods and the delete methods that will call the base class methods.
PersonSearcher
Also the PersonSearcher class will not be that difficult with the Search method implemented in the BaseSeacher class.
Program
In the program.cs file you’ll find the creation of the multiple Person objects an how they are added to the index. Underneath you’ll find the different search methods and their results.
Conclusion
Although Lucene.NET has far more options then showed here in this blog post, will the created wrapper at least give you the basic search possibilities. Off course can you extend the base classes to add more search options, index options etc.
With the basic settings in the Document class that inherits from ADocument you’ll avoid to create numerous searchers or indexers.
All source code can be found on GitHub and feel free to fork or download.
In this part we’ll create our database after we ask the connection settings from the end user and update our web.config file with the correct credentials and connection settings.
In part 2 we’ll already provided a dialog where the user can enter the server’s IP address, database name, user and password. We’ll use these credentials further in this part.
Create the database
First we’ll have to create the database scripts. I’ve created 2 scripts, one to create all tables, stored procedures, primary and foreign keys, … and a second one to prefill some default tables (like a default admin user, …). I’m not going into the creation of the scripts, I suppose you’ll now how to do that and otherwise you’ll be able to Google or Bing for it.
Right click your setup project in your solution explorer and add a new folder ‘Database’. Add the 2 scripts to that folder (in this demo CreateTables.sql and FillTables.sql)
Add a new .wxs file in the project and name it ‘Database.wxs’ (right click project, add, select installer file, click add). Just as with the IIS configuration in part 3 we’ll have to tell WIX compiler that we’re goiing to use the WiX Util and WiX SQL library. We’ll have to add the namespaces at the top of the file as shown below.
The first items we’ll have to add are the 2 SQL files we’ve created. Add 2 “Binary” elements that point to our files.
Next step will be to use the Util library to create an user element that will connect to the SQL server. The name and password parameter we’ll set to the variables we’ve used in our custom dialog.
Next element to add is a “DirectoryRef” element, this will tell WiX to execute the content of that element when installing the application. In our project we’ll set the ID to the ‘INSTALLFOLDER’.
In this element we’re going to add the ‘Component’ element that contains the ‘SQLDatabase’ element. In the ‘SQLDatabase’ element we can specify the SQL server name or IP address and database name we asked our end user in our custom dialog. Set those items to the variables we used in our dialog.
Set the ‘CreateOnInstall’ parameter to yes to have WiX install the database, choose yes by parameter ‘DropOnINstall’ if you want the database be dropped when your website is uninstalled by Add/remove programs. The ‘User’ parameter we set to the ‘User’ element we’ve created before. Last but not least is the ‘ContinueOnError’ parameter that I’ve set to no to avoid the installation to continue when a database error occurs.
The above is actually enough to create our database. Off course we want to create also our tables and pre fill them. To do that we’ve have to add 2 ‘SQlScript’ elements to the ‘SQLDatabase’ element that will point to ‘Binary’ elements we’ve created before (that on their part point to the scripts we’ve added).
Update the MS Build file
Because we created an extra file to include in the build process we must be sure that the file is added in our build.
We have to update the item groups that contain the list of files to include as shown above.
Now open up the Developer Command Prompt for Visual Studio 2012 again and change the prompt to the setup project folder and type the next statement:
You’ll see the build process will return an error. We added a reference to the WiX Util and Database library in our ‘.wsx’ file but we didn’t tell the candle.exe and light.exe tools to take that into account. Add in both command the –ext WixUtilExtension and –ext WixSqlExtension and run the script again.
Now you should have a successful build. Run the installer and enter the connection credentials for an existing SQL (Express) server and you’ll see your database will be created.
If the installer receives an error during the database installation you’ll get an error message when installing and all already installed files will be reverted.
Next parts
This concludes the installation of the SQL database. Next part we’ll handle updating our web.config file to have the correct SQL connection string.
Install the .NET 4.5 framework if that isn’t installed already
Install the MVC 4 framework if that isn’t installed already.
Create a folder and copy all needed files to run the application (done)
Create a new database on an existing SQL server and prefill the database with the correct tables and values. (the connection details and database name should be entered by the end user running the installer) (done)
Create a new website in IIS 7.5 (create website and application pool running under .NET 4.5) (done)
Alter the config file so the correct connection settings are used (entered by the end user)
In part 1 we saw how we can use a MS Build script to harvest all the files that needs to be installed and to create our msi installer. In part 2 we saw how we can add our own custom UI.
With only the files installed you don’t have a website running. At least not an ASP.NET MVC website. You have to register the website in the Internet Information Services (IIS), create an app pool with the correct framework selected and activate (start) the website.
This post will handle that part of the creation of the installer where we extend the project we used in part 1 & part 2.
Add the IISConfiguration WiX file
We start by adding a new item in our setup project, choose for an installer file and name it IISConfiguration.wxs. The template will create an empty WiX page with just an empty “Fragment” element.
We’ll start with adding a component for the application pool.
We add a “DirectoryRef” element that we point to our installation folder so that this will be run when handling the installation directory in the installer.
In the “Component” element we add the “iis:WebAppPool” element. Give it an id and name, the name will be displayed in IIS. Choose the Identity that will start the application pool.
You can choose “networkService”, “localService”, “localSystem”,”applicationPoolIdentity” or “other”. With “other’” you’ll have to create a user with a username and password that you have to assign to the “iis:WebAppPool” element “users” parameter (not in this example).
NOTE: I had to install the 3.8 version of the WiX toolset to be able to assign the “applicationPoolIdentity”. In previous versions this was apparently not possible.
If you work in Visual Studio you’ll notice the editor adds an red line under the “iis:WebAppPool” element. We have to add the IISExtension namespace in the Wix declaration.
Add the install website component
Next we’ll add a second component to our file to create the website in IIS.
Here we’ll have to an unique id, a description of the website ‘(will be shown in IIS), the directory where the website is installed (our “INSTALLFOLDER”) and the auto start variables.
In the “iis:Website” element you can add one or more “iis:WebAddress” elements to assign DNS names and TCP ports to the website.
Last but not least, we’ll have to connect the correct application pool to the website by adding a “iis:WebApplication” with a unique id and name (I took the website id) and a reference to the “iis:WebAppPool” element we created before.
Create and reference component group
It’s best practice to group these two components in a component group so you only have to add one reference to iis configuration elements.
Add this “ComponentGroup” in the “Target” element.
In the product.wxs file we have to place a reference to this component group in the “Feature” tag.
Update the MS Build file
Because we created an extra file to include in the build process we must be sure that the file is added in the MS Build file.
We have to update the item groups that contain the list of files to include as shown above.
Now open up the Developer Command Prompt for Visual Studio 2012 again and change the prompt to the setup project folder and type the next statement:
You’ll see the build process will return an error. We added a reference to the IISExtensions library in our IISConfiguration.wxs file but we didn’t told the candle.exe and light.exe tools to take that into account.
Add in both commands the –ext WixIISExtension flag and run the MS build script again. This time it shouldn’t be returning any errors.
Test the installer
Let’s run the installer and see if it really adds our website.
During the installation you’ll see a message passing by that it’s configuring IIS. Complete the installation and open up the IIS manager (run inetmgr).
We’ll see a new Demo Website website on the left hand side and a new application pool DemoWebsite on the right hand side running .NET 4.0 under the correct application pool identity.
If we open up the advanced settings of the website we’ll see the correct physical path is used and the binding is correct.
You may have noticed that our website isn’t started (the stop sign on the website icon). This isn’t a fault of the installer, it tried to start the website but because we choose port 80 in our installer IIS noticed there is another site running on that port (Default Web Site) and refuses to start our installed website.
If you change the port in the installer (or remove/stop the default webs site before installing) you’ll notice it starts upon install.
Next parts
This concludes the installation in IIS. Next part we’ll handle the creation of the database using the entered credentials and running SQL scripts from the installer.
Install the .NET 4.5 framework if that isn’t installed already
Install the MVC 4 framework if that isn’t installed already.
Create a folder and copy all needed files to run the application (done)
Create a new database on an existing SQL server and prefill the database with the correct tables and values. (the connection details and database name should be entered by the end user running the installer)
Create a new website in IIS 7.5 (create website and application pool running under .NET 4.5) (done)
Alter the config file so the correct connection settings are used (entered by the end user)
In part 1 we saw how we can use a MS Build script to harvest all the files that needs to be installed and to create our msi installer.
When you run the installer we created you saw it had a very minimalistic UI, better none UI at all. In part 2 we’re going to add a user interface for the installer. We’ll make use of the build in UI elements of WiX but also add a new dialog so the end user can enter the database connection values and credentials.
The WiX library has already a lot of build in UI dialogs and flows that you can use out of the box. If you download the source code from codeplex you can take a look at the standard UI. (unzip and then go to \src\ext\UIExtension\wixlib\)
The dialogs we wanted to show our end customers where:
Welcome screen
Let the user select the install directory (default c:\inetpub\)
Let the user fill out database connection values (database server IP or name, database name, database user end password)
Confirmation to install
Show some progress of the installation
Show a install succeeded screen
The WixUI_InstallDir default UI comes closest to what we want to implement. So we start from that default UI theme.
Create our own UI
Add a new file in our setup project and name it DemoUI.wxs.and copy the default WixUI_InstallDir file content into this file.
You can see the flow the UI will follow. First a welcome screen, then a license screen, then the installation directory screen, a verify ready dialog and a maintenance dialog. Except for the license screen this is exactly what we needed.
Our first job will be to remove the license screen from our UI flow. You can delete the lines 60 and 61 but we’ll have to take care of the references to the license screen.
On line 58 you’ll see that the welcome dialog next button will send you to the license screen, alter that so it will send you to the installation directory screen.
Same for line 63 where the back button will send you to the license screen. Update the Value tag so it references the welcome dialog instead.
Reference our own UI
We still have to tell our installer that he has to use our own UI instead of the default one. In our DemoUI.wxs change the Id of the UI element (line 33) from “WixUI_InstallDir” to “MyUi”.
In our Product.wxs we’ll have to reference our own UI by adding a “UIRef” element in the “Product” element with Id “MyUI”. (line 11)
And we have to tell the UI the default folder he has to use in the Install directory dialog by adding the “WIXUI_INSTALLDIR” property that we reference to our “INETPUB” property.
Update our MS build file
Now that we have a new source file (DemoUI.wxs) we have to update our MS Build file to include our user interface.
Open up the setup.build file and update the Itemgroups containing the WiX source files and WiX compiled files.
In our WIX target we’ll have to tell the light.exe tool that we are using parts of the WixUIExtension library.
And last but not least I added a new target to clean up all previous created and build files to avoid conflicts.
Now build the installer by opening a Developer Command Prompt for Visual Studio 2012, change the directory to the setup project and enter the next command:
In the \bin\release folder of our setup project you’ll find our freshly build DemoWebsite_Setup.msi. Double-click the installer and you’ll see the welcome screen as intended.
If we click next the destination folder is prefilled with the c:\Inetpub folder but can be changed by the end user. Clicking next will show the “ready for installation” and the “installation succeeded” screens.
During installation we’ll see a progress bar showing the status of the installer. Running the installer will, just like in the last post, install the necessary files in the C:\Inetpub\DemoWebsite folder (if no other location is selected by you).
If you run the installer again you’ll get the default repair/remove interface.
Add the SQL connection screen
Now that we have a default UI for our installer we can add the dialog to let the end user enter the database connection values.
Add properties
The database connection values that will be entered by the end user will need to be reused in a later process of installation of the database. Therefor we have to store them in properties.
In our Product.wxs file we add four properties (DB_USER, DB_PASSWORD, DB_SERVER, DB_DATABASE) and give them some default values (line 7 to 10).
Add a new dialog
Now we can add the new dialog, add a new Installer file in our setup project and name it UIDialogs.wxs. I added the controls we need.
We’ll see a label and a text box for our 4 properties and a next and cancel button that we’ll link in our UI file.
Insert the dialog in the UI flow
Open up our DemoUI.wxs file again and add our new dialog between the “Install directory” and “verify ready” dialogs. Add 2 references, one for the next button and one for the back button.
The next button we reference to the “VerifyReadyDlg” and the back button to the “InstallDirDlg”.
We’ve got to alter the flow to insert our dialog by changing line 5 (reference the next button of “InstallDirDlg” to our one) and change line 12 (reference the back button of “VerifyReadyDlg” to our one).
Update our MS build file
We have to tell our script there is a new source file to handle, the dialog file. Open up the MS build script again and alter the ItemGroup settings by adding the new file.
Open your command prompt again and run the next statement:
When our installer is build, run it and you’ll see the new dialog appear after the installation directory dialog.
Check the installer
You may see the properties now in the UI you want off course to be sure they are set properly. You can check that by letting the install process create a log file.
Browse to the /bin/release/ folder in the setup project and open a command prompt. On the prompt type the next command:
msiexec /I Demowebsite_Setup.msi /l*v demo.log
You’ll see that during the installation process a “demo.log” file will appear in the /bin/release/ folder. In that log file you will see the parameters are set to the entered values (second line in the screenshot)
Next parts
This concludes the custom UI we wanted to create. In the next chapters we’ll use the entered information to create a database.
Off course there is (a lot) of room to enhance the UI with custom bitmaps, text, … More information you can find in the WiX documentation page.
The items in yellow are handled, the next post will be probably on how to add a website in IIS.
Install the .NET 4.5 framework if that isn’t installed already
Install the MVC 4 framework if that isn’t installed already.
Create a folder and copy all needed files to run the application (done)
Create a new database on an existing SQL server and prefill the database with the correct tables and values. (the connection details and database name should be entered by the end user running the installer)
Create a new website in IIS 7.5 (create website and application pool running under .NET 4.5)
Alter the config file so the correct connection settings are used (entered by the end user)
For a customer we created a new web application in MVC4 with an underlying SQL database. One of the requirements was to provide an installer to install this website at their customers local installations. The installer had to do a few tasks:
Install the .NET 4.5 framework if that isn’t installed already
Install the MVC 4 framework if that isn’t installed already.
Create a folder and copy all needed files to run the application
Create a new database on an existing SQL server and prefill the database with the correct tables and values. (the connection details and database name should be entered by the end user running the installer)
Create a new website in IIS 7.5 (create website and application pool running under .NET 4.5)
Alter the config file so the correct connection settings are used (entered by the end user)
From Visual Studio 2012 on there is no Windows Installer project available any more. You can use the InstallShield Express edition with limited capabilities or the Windows Installer XML (WiX) open source package created by Rob Mensching when he was working for Microsoft. (It’s actually the oldest open source project from Microsoft and now under the OuterCurve foundation)
The Installshield express version doesn’t support IIS installations and falls out of the boat. WiX does support all actions that we have to do but has a steep learning curve. I used WIX in a previous project and still had some hassle to put all of it together. This series of posts will walk us through the creation of the installer.
Start project
Start by downloading the WiX toolset from http://wixtoolset.org/releases/. For this demo I used the 3.8.826.0 version. This is not the latest stable published release but I haven’t got any problems with this version.
Next step is creating a MVC 4 web project and choose for an internet application so we have some default files (javascript, css, views, controllers, …).
Right click on the solution in the solution explorer and choose to add another project. In the ‘Add New Project’ dialog select Windows Installer XML on the left hand side. Choose for ‘Setup Project’ and click the OK button.
You should get a new project with only one file (Product.wxs).
WiX flow
WiX source files are written in XML and have the wxs or wxi (for variables) extensions. Those files have to be compiled to wixobj files. This can be done in Visual Studio or by command line by using the candle.exe tool in the WiX toolset. After compiling the wixobj files another tool is needed to create the msi (installer) file, the light.exe tool.
The most simple installer can be created by just using one wxs file. You will notice that it will make your project more clear to use different wxs files. One for every part of the installation.
You can use the default UI that is available in the WiX toolset but with bigger projects (and in this demo) you can create your own UI and flow. Even the UI is defined in XML and has the same wxs extension. Another reason to split up your installer code in different files to keep the overview.
Step 1: install all needed files
Open up the Product.wxs file in Visual Studio. You’ll see already a few standard values filled out.
At line 3 you get the product attributes that have to be set. Leave the asterix ( * ) at the Id tag. WiX will replace this with an unique Guid when compiling the source. Set the version, language and the name to the desired values.
IIS default location for websites is the c:\inetpub directory. We’ll alter the installer so this default location is used. In one of the next chapters we’ll be able to change this folder. Navigate to line 15 and alter the Directory tag.
You’ll see I’ve changed the default InstallFolder to Inetpub. (from c:\Program Files to c:\Inetpub). This is all we have to change for the install location.
On line 26 you’ll see the ComponentGroup where we’ll have to define all files that have to be installed in our installation folder. Let’s start with adding some files. In the example below I added 3 files in the root of out application (favicon.ico, web.config and global.asax). To add the bin folder I had to add a new ComponentGroup, a new Component, and a new Directory element before I could add the files (2 dll’s).
As you can see this is a tedious job to add every file you want to be installed. Luckily there is a faster way to create this.
Use the heat component from the WiX toolset
The WiX toolset has another tool heat.exe that can help us to harvest all files that we need to install. Although heat was incorporated in Votive (the Visual Studio environment for WiX) in earlier versions, in the 3.7 – 3.8 version this is not available in Visual Studio.
MSBuild to the rescue
If we want to make use of the heat component we’ll have to script it. We can create a bat file we can run every time before we build the installer or we can create an MS build script that we can run. The MS build script has the advantage that we can reuse this script for out build server (continuous integration).
Create a new text file in the Setup project and rename it to setup.build. First we’ll add some properties in a ‘PropertyGroup’: the source of our website and the name of the WiX file we want to build. We also include the path where we should publish all files. In the ‘itemgroups’ we define the temporary files witch is the content of the web site and the list of WiX input files.
Add build target
We first have to build our website so we are sure we have the latest build we are deploying. Therefor we add a target in the MS build file
Add Publish website target
We’ll use the build in publish feature of MS build to deploy the website to a new folder so we have only the files we need. (and not the .cs files etc)
Harvest the files in WiX
Now that we have all the files we need under a temporary folder we can use the heat.exe tool in the WiX tool belt to harvest the files and create a wxs file.
The parameters used in this command:
dir $(Publish) tells to harvest a directory (our published website)
-dr: The directory where the files have to be installed to
-ke: Keep the Empty directories
-srd: Suppress harvesting the root directory as an element.
-cg: The ComponentGroup name that have to be used
-var var.publishDir: Will substitute the source directory with a wix variable so we can use $(var.publishDir)\myfile.txt in the wxs files
-out $(WebsiteContentCode) the file we want to be created (see PropertyGroup settings)
Test the script
With the heat command inserted we can test our script. Open up a Developer Command Prompt for VS2012. Change the prompt to the DemoWebsite.Setup project folder and type the following command:
and hit enter. If everything goes well you’ll see a lot of command coming by. The script will create a folder Setup\publish under the root and publish the website. At last a WebsiteContent.wxs file will be created in the setup project folder.
If you open up the WebsiteContent.wxs file you’ll see all files and folders are added with their own Id under a ComponentGroup MyWebComponents.
If you looked closely you’ll have seen a few WiX commands passing by when executing the build file. Because we are going to handle the WiX build process in our build file we can exclude the setup project from the build configuration. Right click on the solution in the Solution Explorer in Visual Studio and choose for Configuration manager.
Change the active solution configuration to ‘Release’ and uncheck the build flag next to the setup project.
Update the Product.wxs file
Now we have all our files we have to install we have to reference to the created MyWebComponents CompenentGroup and delete the entries we made before to add the files.
Build the installer
Now that we have all the components for the first fase (installing the files) we can use the candle.exe and light.exe tools from the WiX tool belt to built our installer.
Add properties in the build file
First we need some more properties in our build file. Add the WebSiteContentObject parameter that will hold the compiled WiX code (WebSiteContent.wixobj). And also add the MsiOut parameter that will hold the path and name of the installer (.msi) file.
Add candle.exe in the build file
Add a new target tag in the build file and add the candle.exe tool with the parameters where to find the publish directory and witch files he has to compile.
Add light.exe in the build file
In the same target (WIX) add the light.exe command with parameters where to put the generated msi and witch source files to include.
Final run
Open up your Developer Command Prompt and type the next command where we added the WIX target:
Hit enter and keep your fingers crossed. If you had no error messages you should find a msi file in the bin/release folder of the setup project. Run that installer and you’ll see that under the C:\inetpub folder a DemoWebsite folder is added with all the published files from our webapplication.
If you had any errors you can find the complete files here:
Enough for one blog post I would say. the next posts in this series will handle the next actions:
Install the .NET 4.5 framework if that isn’t installed already
Install the MVC 4 framework if that isn’t installed already.
Create a folder and copy all needed files to run the application (done)
Create a new database on an existing SQL server and prefill the database with the correct tables and values. (the connection details and database name should be entered by the end user running the installer)
Create a new website in IIS 7.5 (create website and application pool running under .NET 4.5)
Alter the config file so the correct connection settings are used (entered by the end user)
Complete source code
You can find the complete source code for this project on GitHub. Keep in mind that this project will be altered when the next parts are implemented. I will try to keep the commits together with the series.